Experiment One: Camera Shake
For the camera shake, I had to take pictures in the corridors and outside; I set the camera to the shutter priority setting and changed the shutter speed so that it was slow, for example 1/30th second. When I was taking the photo, I had to shake the camera which created a blur. I then changed the shutter speed so I could take a sharp image whilst shaking my camera. The images I took turned out to be rather successful because the ones taken with a slow shutter speed are rather blurred but the ones I took with a fast shutter speed are sharp.

Experiment Two: Abstract Motion Blur
For the abstract motion blur, I took pictures indoors with the camera on shutter priority. I set the shutter speed to 1/8th second. There were four stages of this experiment. The first stage was to take a picture of someone whilst I zoom the lens. The second was to take a picture of someone whilst I rotate the camera. The third was to take a picture of someone whilst I shake the camera. And the fourth stage was to take a picture of someone whilst I rotate the camera and zoom the lens. My images were successful because they created four different kinds of blurs.

Experiment Three: Light Writing and Painting
Light writing and painting required a dark room so I used the studio. For this I had to set the camera to the manual setting with the shutter speed on the Bulb setting and the aperture on f8. I turned off the lights and used the flashlight on my phone to write my name and the names of the people I worked with. My images for this were successful because the room is completely dark and you can quite clearly read my name from the light. The only difficult thing with light writing is that you need to know how to write words backwards, but if not, you can easily flip the image when you upload it to a computer.

Experiment Four: Ghosts
For the ghosts experiment, I needed to be inside. I had to set the camera to shutter priority with a shutter speed ranging from 4-8 seconds. This experiment required a tripod because the camera needed to be very still. This experiment also had four stages. The first stage was to take a photograph of someone who rushes out of the shot half way through the exposure. The second stage was to repeat the first stage but with a different shutter speed. The third was to make the person seem more transparent. And the fourth stage was to make the person less transparent. My photos seem to be successful because the people in the photographs seem to look like ghosts.

Experiment Five: Frozen Motion
Frozen motion required being outdoors. I had to set the shutter speed to a fast shutter speed so I used 1/500th second with an ISO of 400. The first photo I took for this was of someone jumping, but because of the fast shutter speed, the motion was frozen. The second photo I took was of someone running, and again the motion was frozen. The third time, I changed the shutter speed to a slower one so the running person created a motion blur. My photos are rather successful because the first two are sharp and the motion is frozen, but the second one is more blurred but everything in the background is slightly sharp.
Experiment Six: Panning
For the final experiment, I needed to set the camera to shutter priority with a shutter speed of 1/30th second. For this, I needed to take a photograph of someone running, but instead of keeping the camera still, I needed to follow the motion. This creates a sharp motion but a blurred background to show that there is movement in the photo. My photo seems to be successful but I think I could've found a way to make the movement sharper than it is.
 High Key lighting is a style of lighting that makes the photographs free from shadows. A disadvantage to high key lighting is that it doesn't add any meaning or drama to the photographs; instead it makes the photographs seem calm and relaxed due to the lack of shadow. I went into the studio and decided to use the high key lighting for some photographs; the photographs appear to have no shadows which is because of the positions of the lights, and I also used props to make the photographs seem a little more interesting and to add some colour.
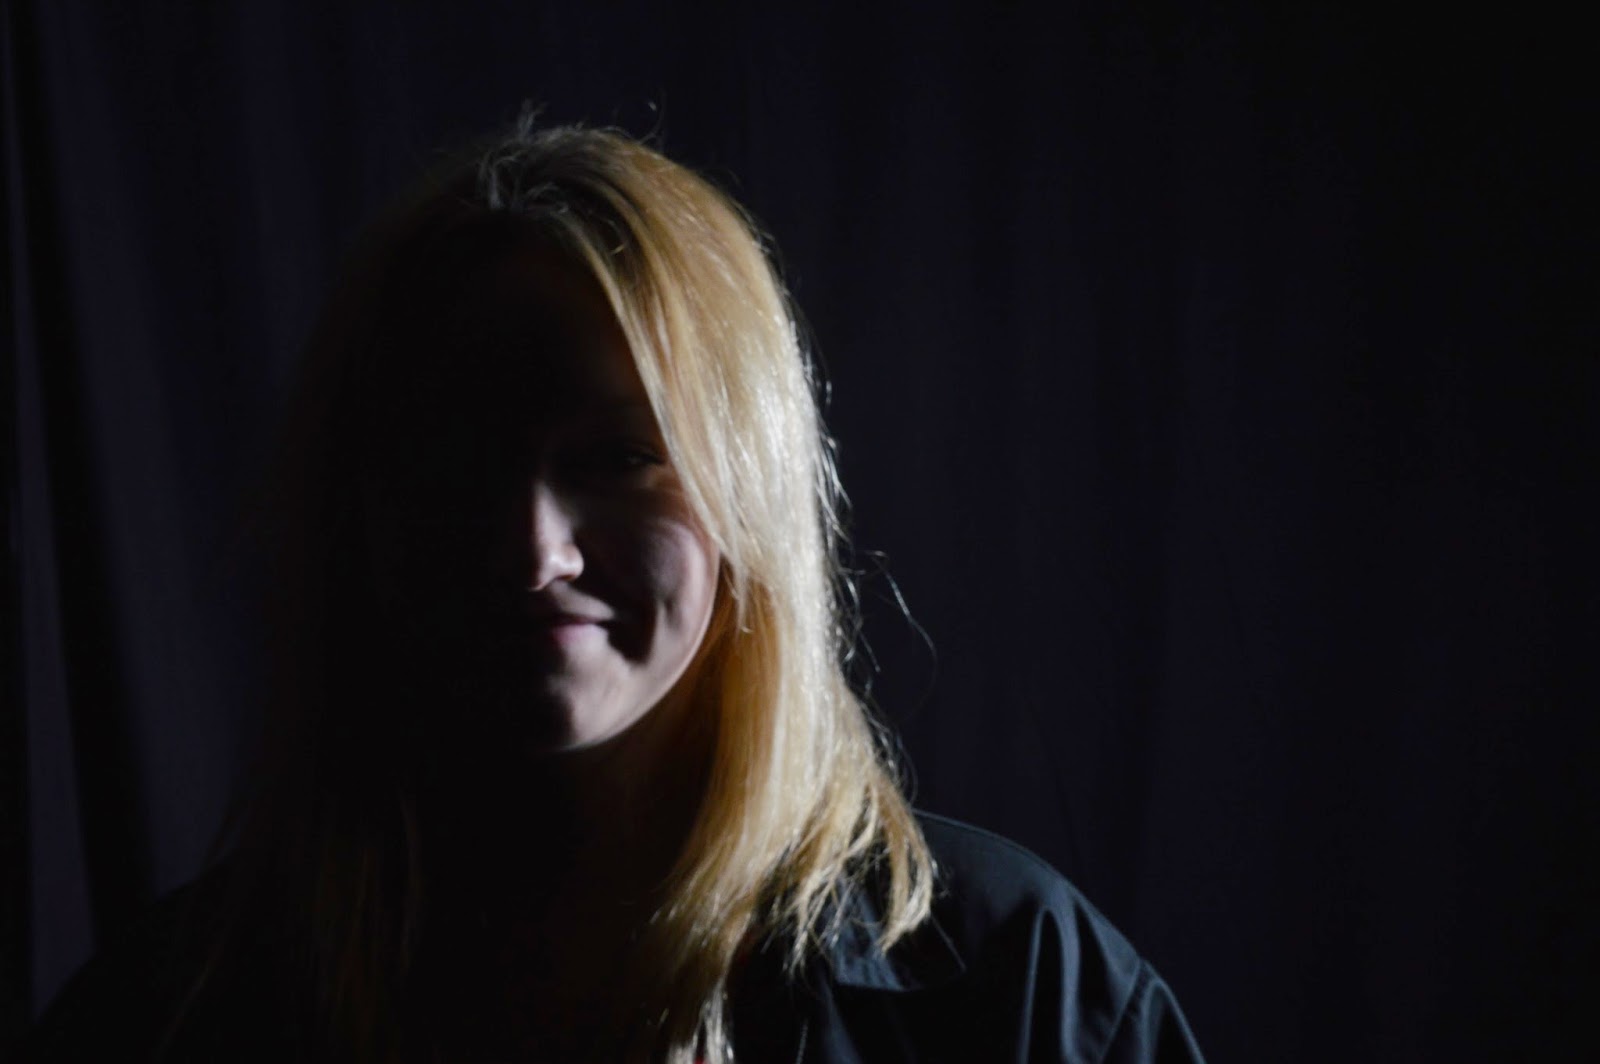
 Low key lighting is completely different from high key lighting. This is because low key lighting adds shadows to the pictures which can give the images more of a mysterious feel, whereas high key lighting includes little to no shadow. I also used low key lighting when I went into the studio and I placed the light to the side of the person modeling, this made the light only shine on half of their face and their other half of their face was in the dark which made the model seem mysterious.